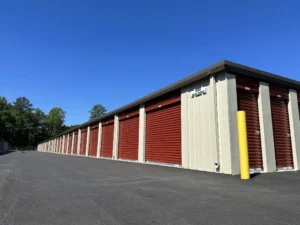
When it comes to protecting your home from water damage, few things are as important as properly functioning gutters. Whether you’re dealing with old, damaged gutters or installing a brand new system, learning how to install and replace rain gutters can save you thousands of dollars while ensuring your home stays dry and protected.
Getting Started: Planning Your Rain Gutter Installation
Assessing Your Current Situation
The first step in any rain gutter installation project is thoroughly inspecting your existing system. Walk around your home and look for signs of damage like rust, holes, sagging sections, or rotted fascia boards. If you’re replacing gutters, you’ll need to carefully remove the old system without damaging your home’s exterior.
Start by removing old gutters at the downspouts and work your way along each section. Use a pry bar to gently detach brackets and fasteners, taking care not to damage the fascia board underneath. This is also a great time to inspect and repair any wood rot or structural issues before installing your new gutters.
Measuring and Material Selection
Accurate measurements are crucial for a successful installation. Measure each roofline where gutters will be installed, noting the locations of existing downspouts and determining if additional ones are needed for optimal drainage.
When choosing materials, you have several options. Aluminum gutters are lightweight, rust-resistant, and relatively easy to work with, making them perfect for DIY installations. Vinyl gutters are the most budget-friendly option, but may not hold up as well in extreme climates. Steel gutters offer superior strength but require more maintenance to prevent rust. For those seeking a premium option, copper gutters provide exceptional durability and aesthetic appeal but come with a higher price tag.
Step-by-Step Rain Gutter Installation Process
Establishing the Proper Slope
One of the most critical aspects of gutter installation is creating the right slope for water drainage. Mark the high point of your gutter run about one to one and a quarter inches below your roof’s drip edge. Then mark the low point where your downspout will be located, ensuring a slope of about one-quarter to one-half inch per ten feet of gutter run.
Snap a chalk line between these points to create a visual guide for installation. This slope ensures water flows efficiently toward the downspouts rather than pooling in the gutters.
Cutting and Assembling Your Gutters
Gutter sections typically come in ten-foot lengths, so you’ll likely need to join multiple sections for longer runs. When cutting gutters, use a miter saw with a fine-tooth blade or tin snips for clean, precise cuts. Always dry-fit sections before final assembly to ensure everything aligns properly.
When joining sections, overlap them by four to eight inches in the direction of water flow. Apply gutter sealant along the seams and secure connections with sheet metal screws or rivets. This overlap method prevents water from backing up at joints during heavy rainfall.
Installing Hangers and Mounting Systems
Proper support is essential for long-lasting gutters. Install hangers or brackets every eighteen to twenty-four inches, ideally securing them into rafter tails for maximum strength. This spacing prevents sagging and ensures your gutters can handle heavy water loads during storms.
Position your assembled gutters along the chalk line you created earlier. With a helper, lift the gutters into place and secure them to the fascia through the hangers or brackets. Double-check that the slope matches your chalk line for proper drainage.
Preparing Downspout Connections
At the low points of your gutter runs, you’ll need to cut openings for downspout outlets. Mark these locations carefully and use tin snips or a hole saw to create clean openings. Attach the outlets with rivets or screws, sealing all edges with silicone gutter sealant to prevent leaks.
Installing Downspouts and Final Connections
Attach elbows to your downspout outlets to direct water toward the wall, then measure and cut downspout sections to reach the ground. Join downspout sections with screws or rivets, ensuring overlaps direct water downward. Secure downspouts to the wall with brackets or straps every four to six feet.
Make sure your downspouts direct water at least three to five feet away from your foundation. Install splash blocks or extensions at the base to prevent soil erosion around your home.
Also Read: How to Install a Garage Door Opener: Step-by-Step Tutorial
When to Consider Professional Help
While many homeowners can complete their rain gutter installation, certain situations call for professional expertise. If you’re dealing with a multi-story home, complex rooflines, or lack confidence working at heights, get in touch with us.
Our professional rain gutter installation contractors bring specialized tools and the experience for challenging projects. They can also help with material selection and ensure your installation meets local building codes.
Maintenance and Final Thoughts
Once your new gutters are installed, regular maintenance is key to their longevity. Clean gutters at least twice yearly, removing debris and checking for proper water flow. You can also call a rain gutter installation service to do the job if that’s something you’d prefer.
Inspect for damage after severe weather and address any issues promptly.
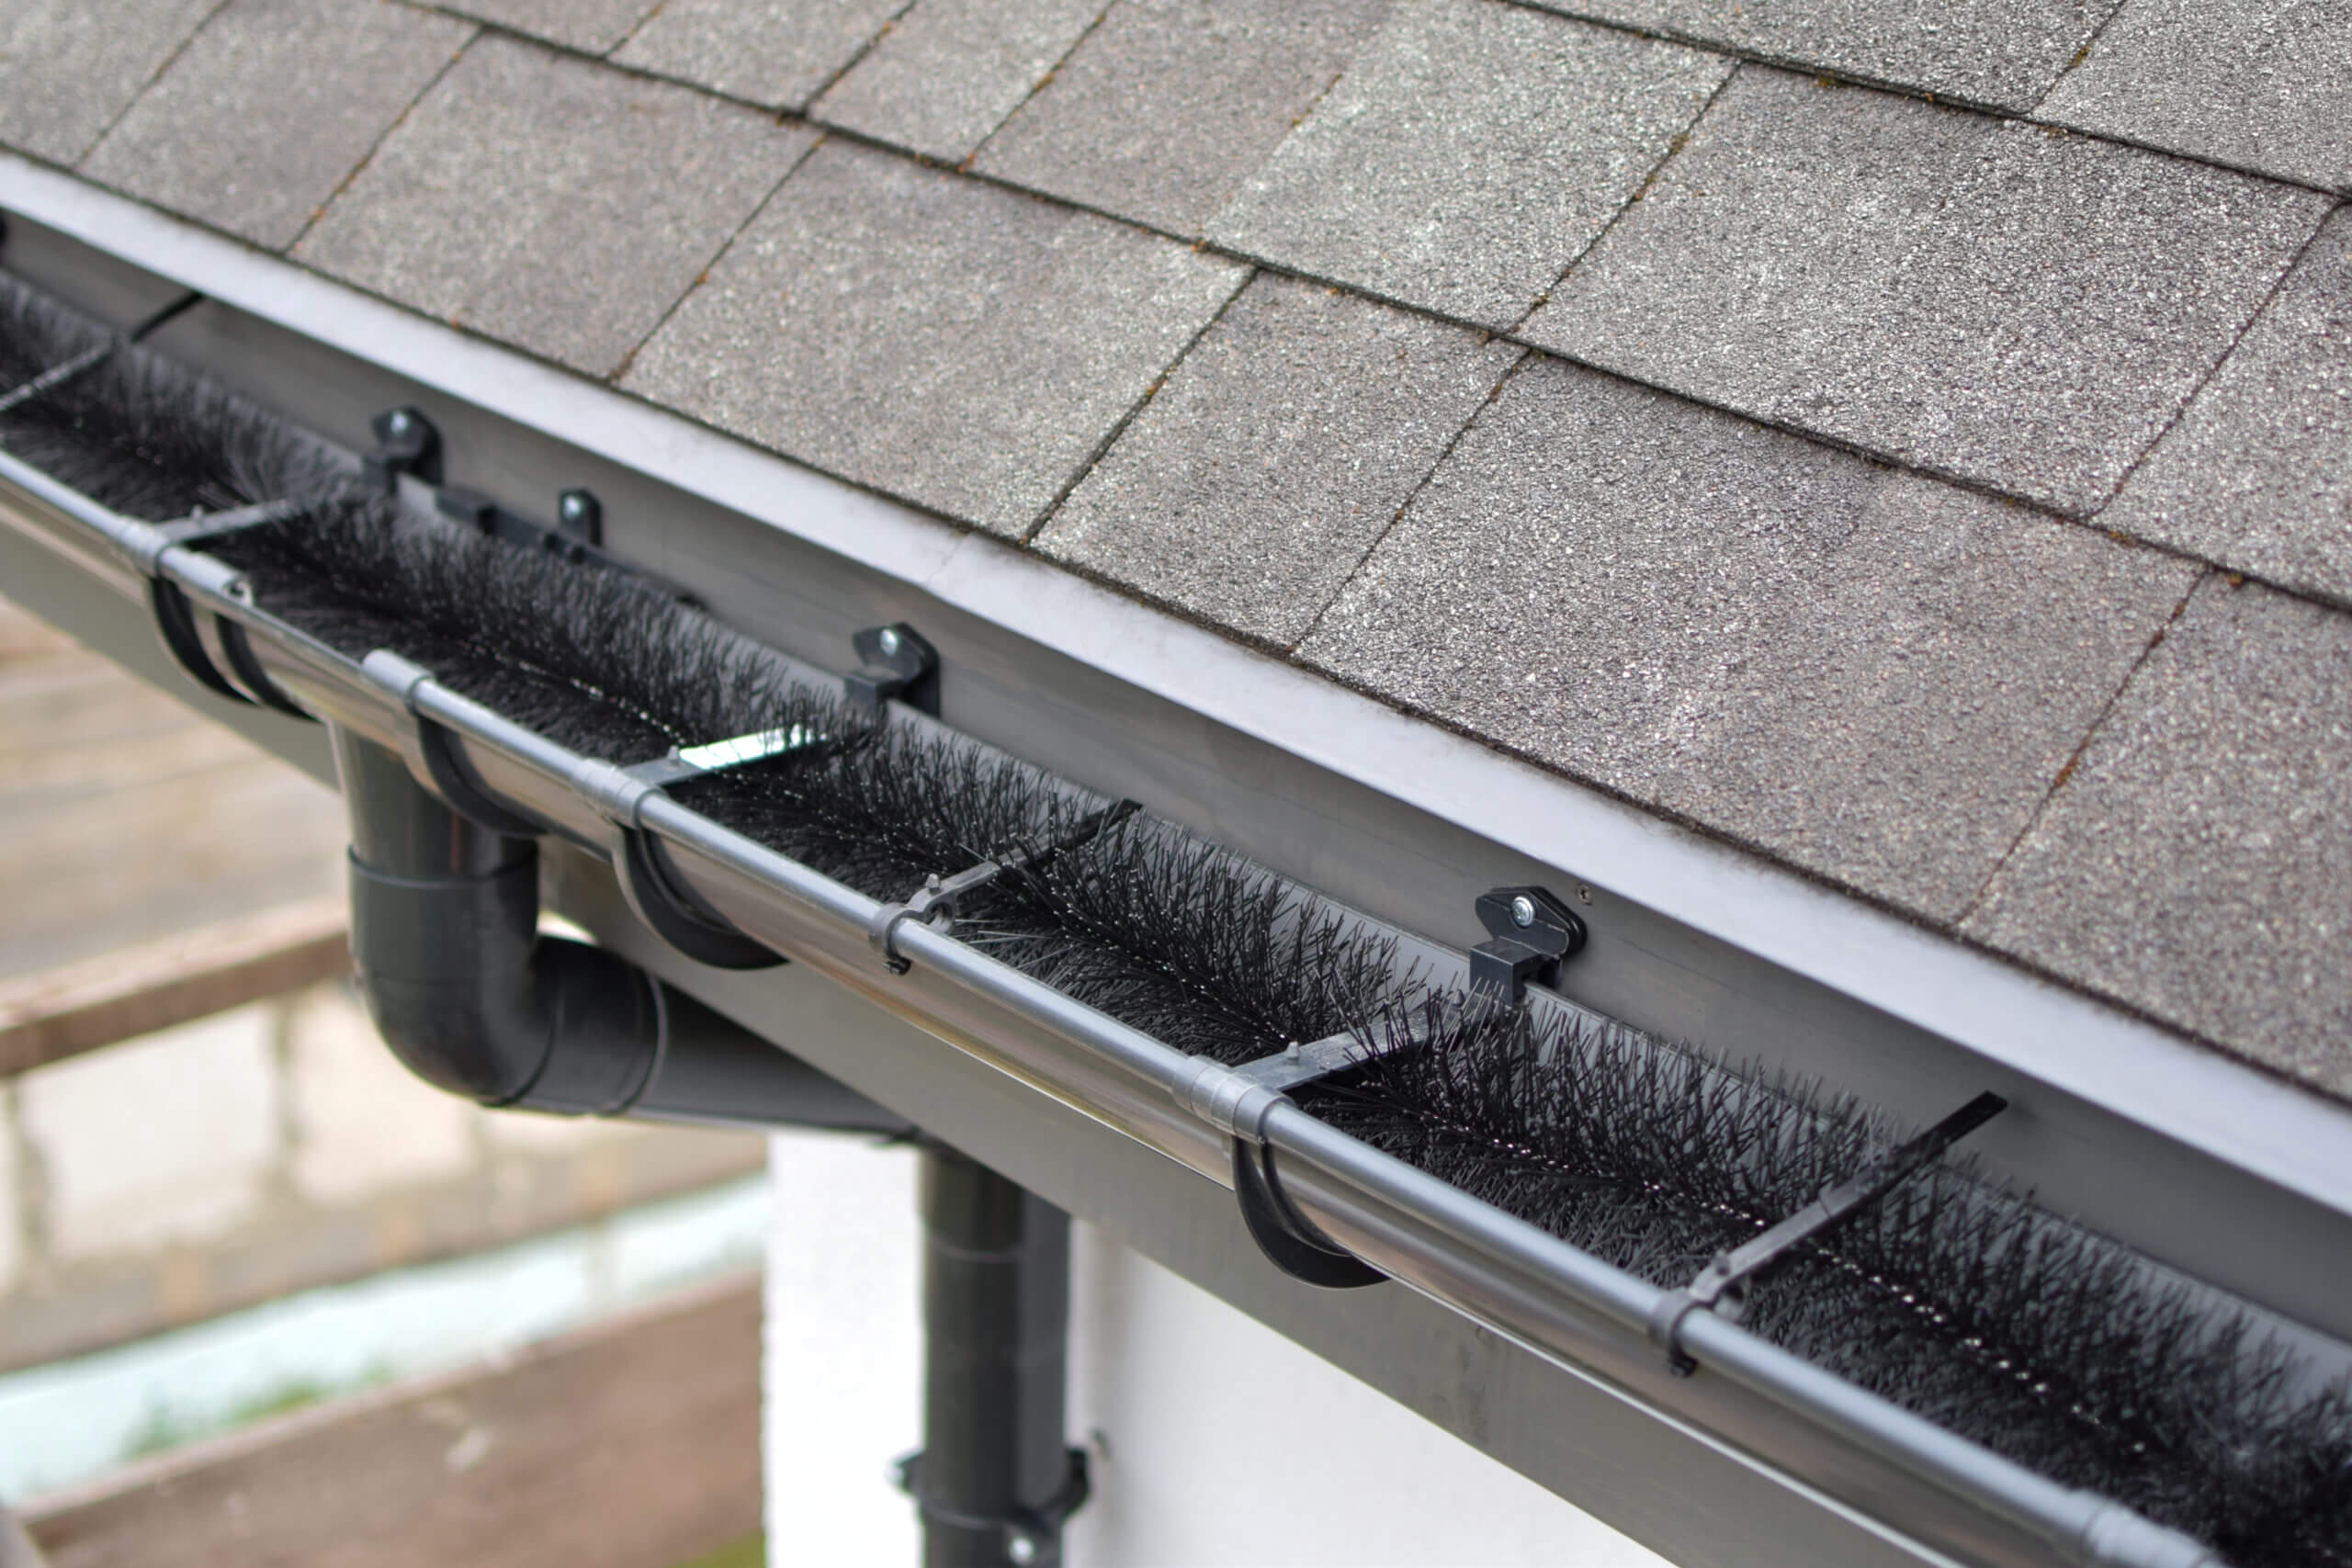
Consider installing gutter guards to reduce maintenance needs and protect your investment. These systems help prevent debris buildup while allowing water to flow freely.
Also Read: How To Clean And Repair Gutters
Conclusion
Learning how to install and replace rain gutters is a valuable skill that can save money while protecting your home. With proper planning, quality materials, and attention to detail, most homeowners can successfully complete this project.Remember to prioritize safety, take your time with measurements, and don’t hesitate to consult us when needed. We’re just a phone call away.