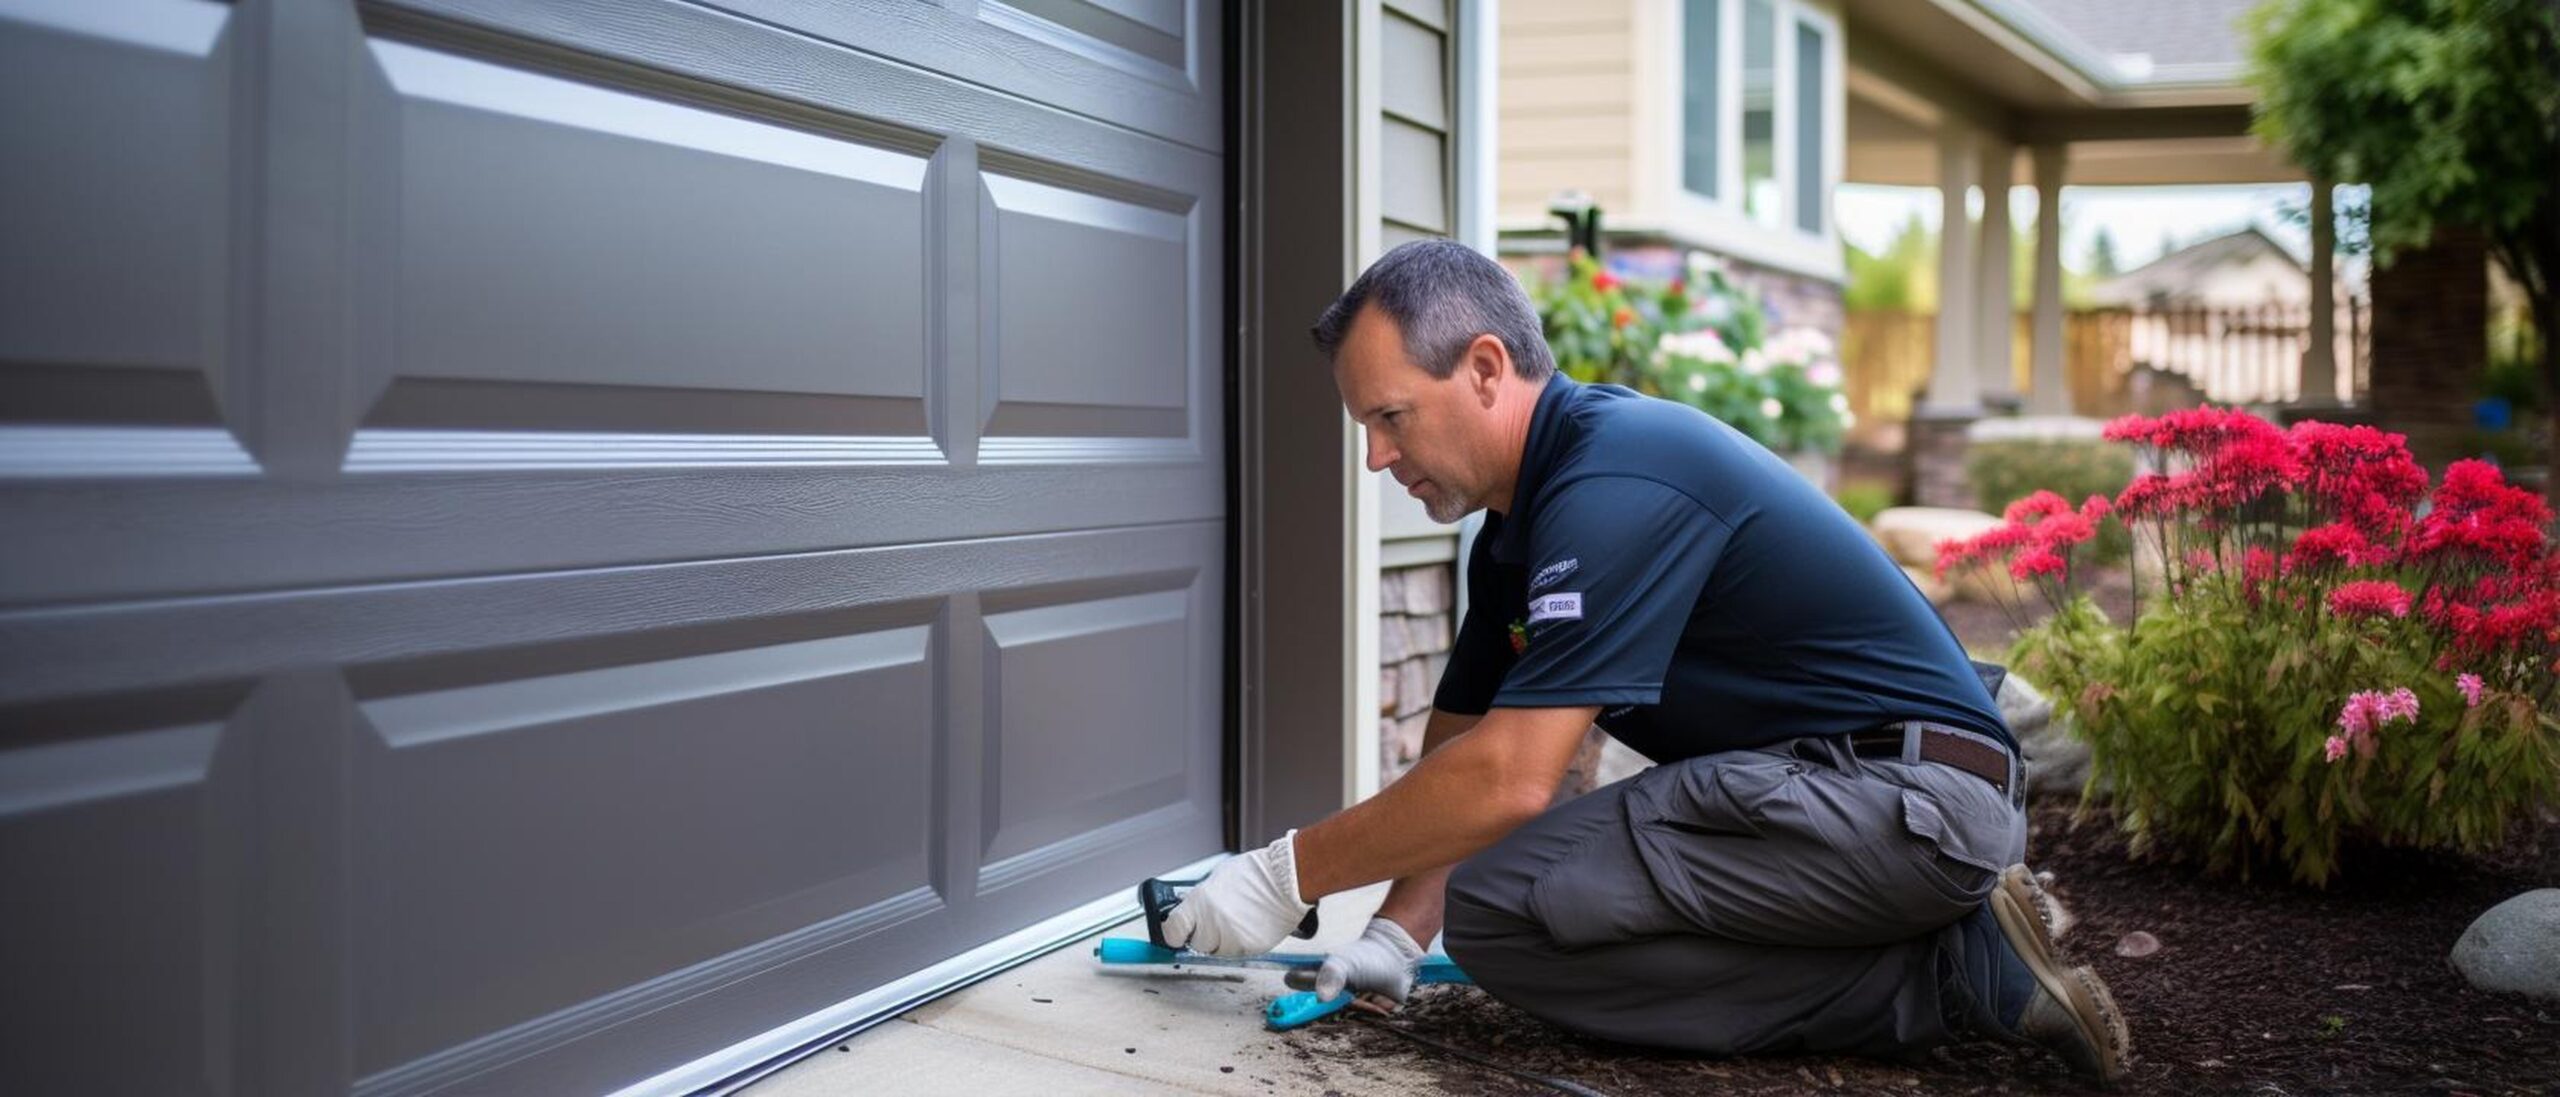
The ease of use and safety of your house can be significantly increased by installing a garage door opener. Though it can seem difficult, you can install a garage door opener yourself if you have the necessary equipment and a little perseverance. You will be guided How to Install a Garage Door Opener by this detailed guide.
Step 1: Choose the Right Opener
Make sure your garage door opener is the appropriate model before you start. Take into account the door’s weight, dimensions, and kind. Chain drive, belt drive are the two primary types of openers; each has advantages of its own.
Step 2: Prepare the Area
Get rid of all the cars and obstructions in the garage. This guarantees safety and provides you with plenty of workspace. In order to prevent any electrical hazards, make sure the power to the garage is shut off at the circuit breaker.
Step 3: Assemble the Opener
Assemble the opener’s major components by following the manufacturer’s instructions. Usually, this entails fastening the trolley to the rail and the rail to the motor compartment. Make sure every component is firmly fastened.
Step 4: Attach the Brackets
As directed by the instructions, attach the bracket holding the opener to the garage ceiling. Next, fasten the door bracket to the garage door’s top. The main assembly will be supported by these brackets.
Step 5: Mount the Opener
Lift the constructed opener and fasten it to the ceiling bracket with the assistance of a helper. Make sure it is firmly and steadily attached. Attach the opposite end to the door’s bracket.
Step 6: Install the Power Unit
Installing a power unit close to the ceiling is necessary for most units. Make sure it is accessible from an outlet, or install a new one if needed. Extension cords should not be used as a long-term fix.
Step 7: Connect and Route the Wires
From the motor unit, route the wires to the wall switch. Using staples to secure the wires, take care not to puncture them. After attaching the cables to the proper switch terminals, position the switch at a comfortable height.
Step 8: Set Up Safety Reversal System
Set up the safety reversal system by positioning the electronic eyes on either side of the door so that they are around six inches above the floor. If something blocks the beam when the door is closing, this system will halt and reverse the door.
Step 9: Test the Opener
Restart the garage’s electricity and use the wall switch to test the opener. To guarantee smooth functioning, adjust the opening and closing force as well as the restrictions as needed. Test the auto-reverse mechanism by setting a wooden block on the floor in the location where the door is supposed to close.
Step 10: Program the Remote Control
Finally, program the remote control according to the manufacturer’s instructions. Test the remote to ensure it opens and closes the door properly.
Conclusion
With the right equipment and fundamental mechanical knowledge, installing a garage door opener is a satisfying undertaking that can be completed in a single day. You can avoid paying as much for a service hire and still get an installation of expert caliber by carefully following these procedures. Always remember that safety comes first, so make sure you follow all installation instructions and use the right tools.


